Table of Content
For a professional finish and ease of production, buy a full button press. The extraction process of cocoa butter is quite simple; however, it requires patience. To make this butter at home, first, the seeds are removed from cocoa pods. After extracting them in good quantity, they are fermented for at least 10 days.
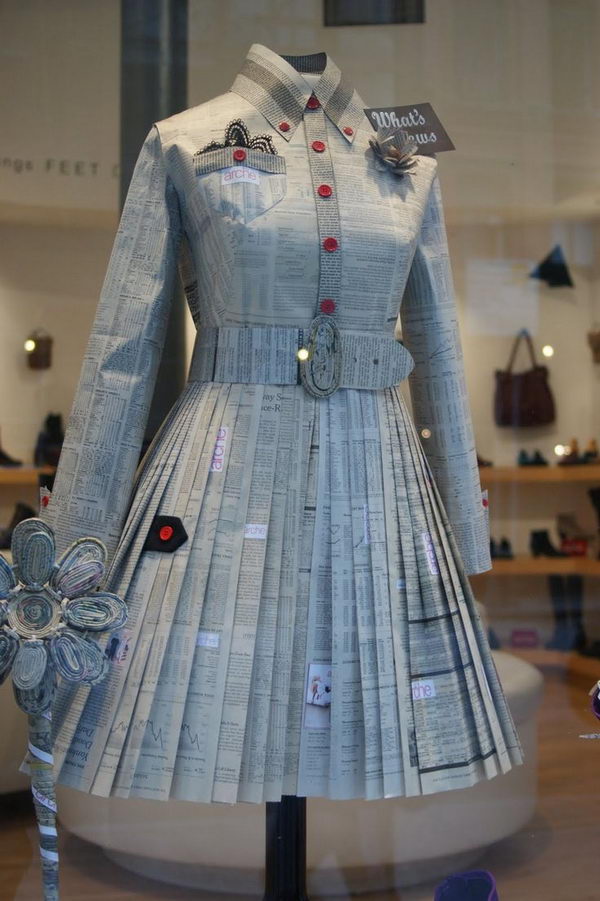
For this, the button needs to be much larger than the petal buttons, as they will sit around it. Make sure you can see the petals poking out from around the edges. Custom photo buttons are a great way to celebrate and support friends and family! Share buttons of your favorite memories at weddings, birthdays, or any big celebration.
Related to photo buttons
Afterwards, the beans are sun-dried on a clean cloth. Then, these beans are roasted and then separated from the shell. Once the actual cocoa nib is obtained, they are added to a grinder jar and finely ground.
Use hot glue again, but this time to add the center layers. A button hand press is a manual machine for making buttons, with no electronic parts. The press mainly consists of a stable base, swinging “arms” with slots for the button parts, and a lever that is pulled to physically press the button parts together. From here you can locate and tap on the image in your camera roll. It'll look like a square and arrow symbol; selecting this will provide all of your photo sharing options.
Use Your Photo and a Design
Include your email address to get a message when this question is answered. The disk should be placed in next, bowl or underside-side down.

Many people don’t know about the health benefits Tulsi leaves offer. These leaves are not just rich in vitamins & minerals but have a good amount of protein and fibre. When these leaves are powdered or made into drops, the nutrient concentration level is increased. Make sure the first slot (with the circle-shaped groove) is in the very front of the machine, which will help us with aligning the design graphic. First place the button shell in the circle-shaped groove in the slot.
How to make immunity-boosting Panch Tulsi Drops at home
Here, we give you a low down on how to make Tulsi drops at home. Considered one of the holiest herbs, most believe that there are just two types of Tulsi - Rama & Shyama. However, if we explore the variety of Tulsi leaves then there are about 18 types of Tulsi leaves across the world that is used for different purposes. Made from a variety of Tulsi leaves found across the country, Tulsi drops are a concentrated liquid that is taken along with lukewarm water to get health benefits. Good navigation is an important step to website success. If people can't find their way around the site, they will quickly give up looking and leave, never to return.
WikiHow is a “wiki,” similar to Wikipedia, which means that many of our articles are co-written by multiple authors. To create this article, 16 people, some anonymous, worked to edit and improve it over time. Button pins are pretty and inexpensive pieces of jewelry to make yourself. They have endless color, size and pattern possibilities depending on the buttons you choose.
Easy to put together, you can make one for any special event, even at the last minute. Get your photo buttons fast with 4 day turnaround and free shipping. To add this button style to the Themes toolbox, click "File/Theme editor" in the main menu. Custom photo buttons are one of the most flattering gifts you can give to someone on their special day. Custom photo buttons are a wearable, sharable, way to celebrate the people you care about most. Using craft foam, cut out a circle about the size of the big center button.
Our custom buttons,magnets, mirrors andbottle openers come in a variety of shapes and sizes that will work with any photo you'd like to use. Most personalized photo buttons look best at the 1.5 inch size or larger. Use custom photo buttons as gifts, party favors, or as a fun way to announce big news.
Print and cut out the image that you want on your button. Make sure the image you have is the right size for the button casing and then print it out on regular paper. Although it looks complicated, these button presses are actually very easy to use.
Swing the arm around one final time, and you should now see the completed button in the slot. Once you are happy with your button design, it is time to print! In the design program of your choice, put as many of your button layouts as you can comfortably fit. Leave some space between each layout, as this will help with cutting them out.
Once you have your design idea, the next step is to find a template to use. Templates are great for making sure your design idea will work for your buttons, without making a lot of test buttons. When you are making your design, always keep your button size in mind. Small buttons are perfect for simple designs, while larger buttons have more space and can show more complicated details. To make your button customized, you need to have a design!
To make a simple button pin, all you need is a plastic case, an image to put inside, and a pair of scissors. First, cut out the image you want to use with a pair of scissors. Make sure the image is exactly the right size so it fits well in the casing. Then, slot the image into the bowl half of the casing and snap on the back half to complete your pin. You can also make a pin that looks like a flower using buttons.